Elixir Scramble is a battle between two alliances for the Elixir Castle. Below are the mechanics and the tactics of the author: by their account, the teams they played in over the last 2 months lost only one game with this approach, and that one was badly outnumbered and lost by a minimal point gap. This is not the only right way to play, just what works for the author and their alliance.
Registration and matchmaking
- The top 32 alliances of the server by Might at the moment the event starts (Monday, 00:00) take part. The alliance must be at least 7 days old, and the player needs Sanctuary Lv.15 or higher.
- According to the author, registration runs from Monday to Wednesday, matchmaking is on Thursday and the battle is on Friday.
- The alliance splits into 2 teams (Team A and Team B). Each has up to 20 main participants and 10 substitutes, and the main ones enter first. R5 and R4 decide who plays in which team and at what time.
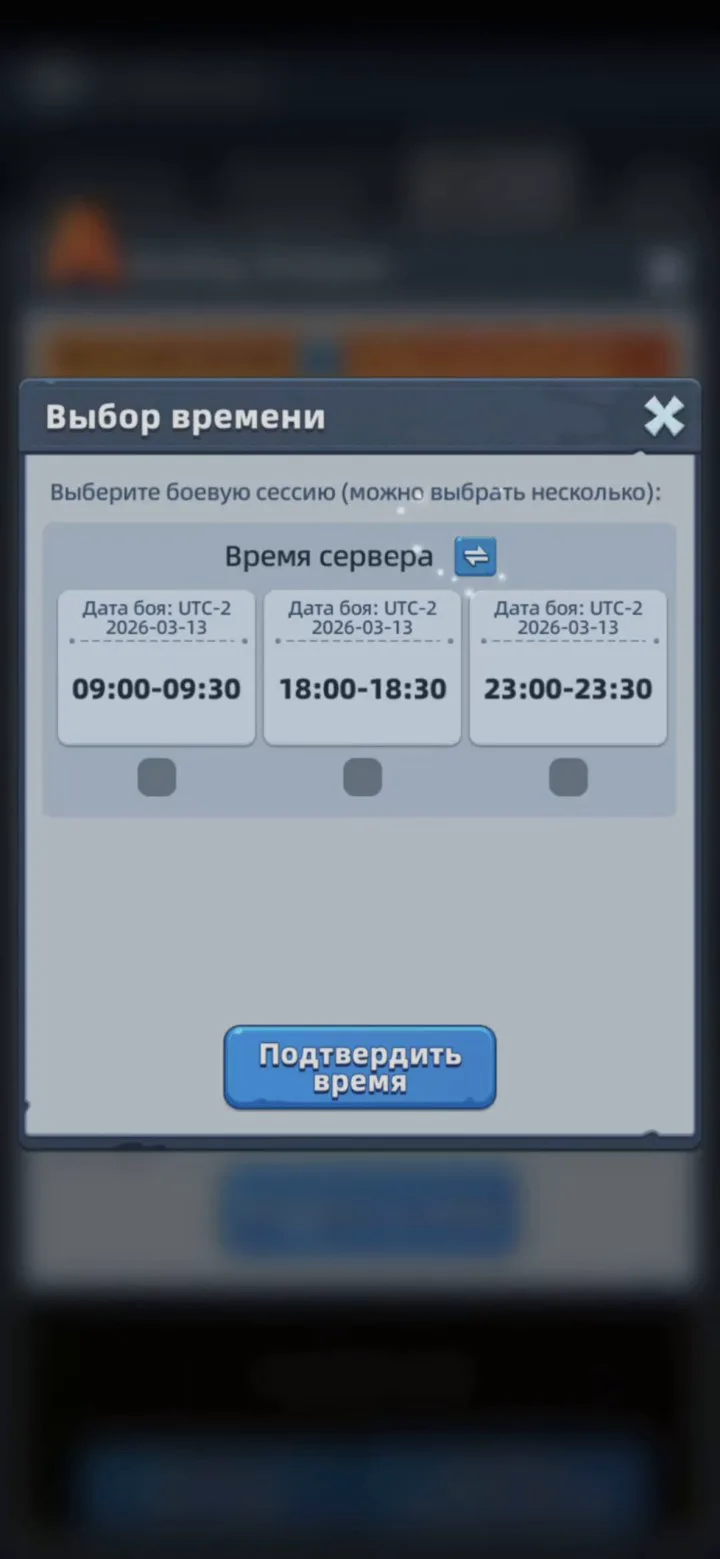
- Battle time is one of three sessions in server time: 09:00-09:30, 18:00-18:30 or 23:00-23:30. When registering, pick a time you can definitely play, so you do not let the team down. If you can play at any time, tell the leadership so they make sure to put you in the lineup.
Matchmaking is based on the sum of the highest historical Might of the assigned participants, not the current one. So "slimming down" before matchmaking is pointless, and so is filling all 20 slots with random people: a weak player with a big historical Might will only raise the level of your opponent.
Before the battle
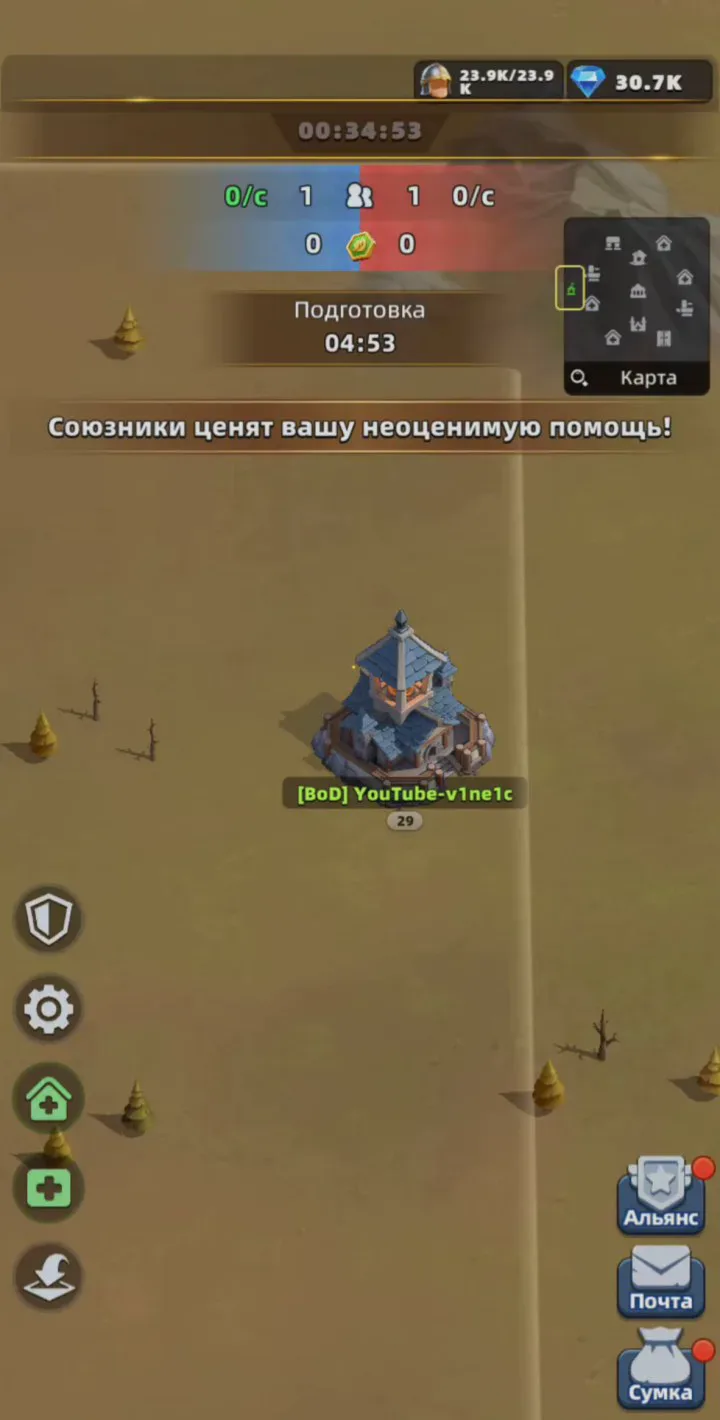
5 minutes before the start there is a preparation phase: main participants can enter the battlefield. Be sure to go in: study the opponent, set up your squads and, if it is your first time, at least look at the map. The start zones on the left and right cannot be attacked, your castles are protected there.
On the battlefield you get exactly as many soldiers as your Barracks can hold, no matter how many troops you had before the event. All soldiers will be of the highest level you can train (it depends on the Training Grounds). These troops exist only for the duration of the event and are removed afterwards, and the battle does not affect your permanent army.
The two main settings
The gear is squad setup. Put your best, main squad first. If you are a top player and your second and third squads are also built up, set them too. If you are a mid or low level player, remove all heroes from the second and third squad and put in the two weakest heroes: such marches go out with a minimum of troops.
The shield is city defense. If you have 2-3 strong squads, include them in the defense. If you have one strong squad (like the author), untick all the "Join Defense" marks.

Why this matters so much. Each squad in the defense takes as many soldiers to defend as the CMD of its heroes allows. Say three squads are in the defense: the strong one holds 2000 soldiers, the two weak ones 1000 each, and you have 20,000 in total for the event. A stronger opponent breaks through the defense and you lose about 4000 soldiers in one hit. Five such hits and you have nothing left to fight with. The soldiers do not die, they go to the Healing Tent of the battlefield, but they heal very slowly or for expensive speedups. If there is no defense, a hit from a strong opponent costs you nothing.
Defense and attack in practice
City defense in the event is fixed at 4000, and every breach with a burn takes off 1000. That is 4 "lives": after four breaches you get knocked out to your base and wait for a free relocation (every 2 minutes).
- A weaker or equal player is coming at you. Quickly add the strong squad to the defense and watch: did the opponent crash or break through? If he crashed and has fewer than four "lives", send all your marches at him and burn him.
- The opponent broke through. Wait for him to come at you again with a strong march and immediately throw three marches at him in response, to take off as many "lives" as you can or burn him. You do not have to take the strong squad off the defense here: it is enough to hit with the strong squad at the same moment his march lands. Watch the hero portraits to see which squad left the castle, so you do not smash your strong squad into his strong one.
- The opponent is intact. Start with the weak squads to check whether he has a defense up (that is why the heroes were removed from them). Even if you do not break through, you lose nothing. Send the strong squad on the third march to break through. If there is no defense, just burn him fast. With full squads in all three marches, such checks would cost a lot.
- A much stronger player is coming. Take the squad off the defense and relocate without losing troops.
As a result you barely lose any army, and the opponents burn out fast, with or without an army.
The other buttons on the left: the house with a cross is where troops restore themselves (go in and collect them), the medkit is healing for speedups (the author advises against it: very expensive), the arrow is the relocation timer.
Buildings on the map
You can view the map right in the game, in the event rules. Study it before the battle.
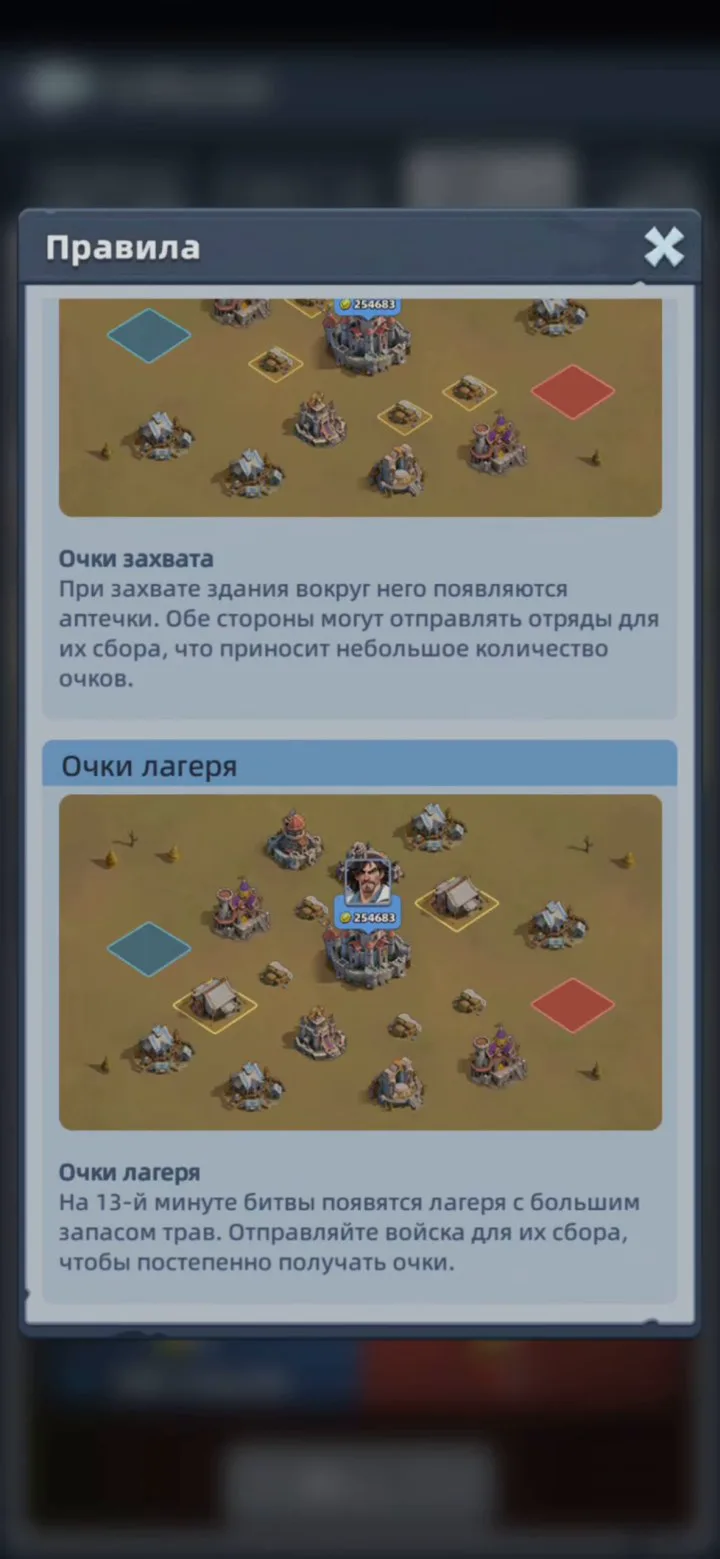
| building | when | alliance / personal points per sec. | bonus |
|---|---|---|---|
| Migration Portal (bottom right) | from the start | 10 / 30 | relocation cooldown -50% |
| Observatory (top left) | from the start | 10 / 30 | alliance points from buildings +10% |
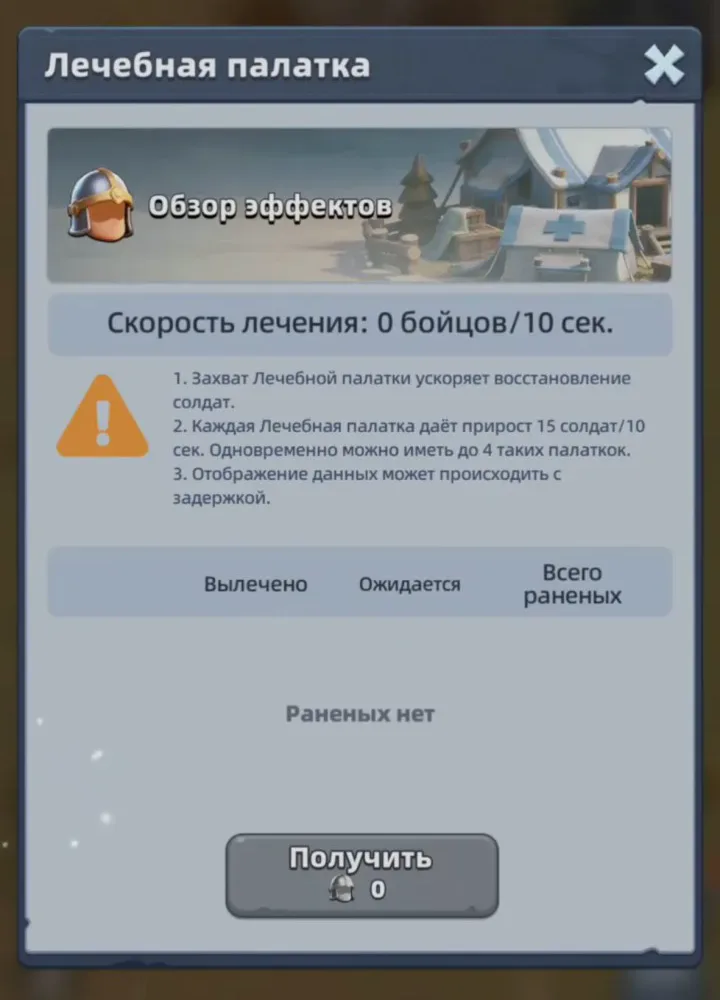
| Healing Tent ×4 | from the start | 30 / 30 | 15 wounded soldiers every 10 sec. |
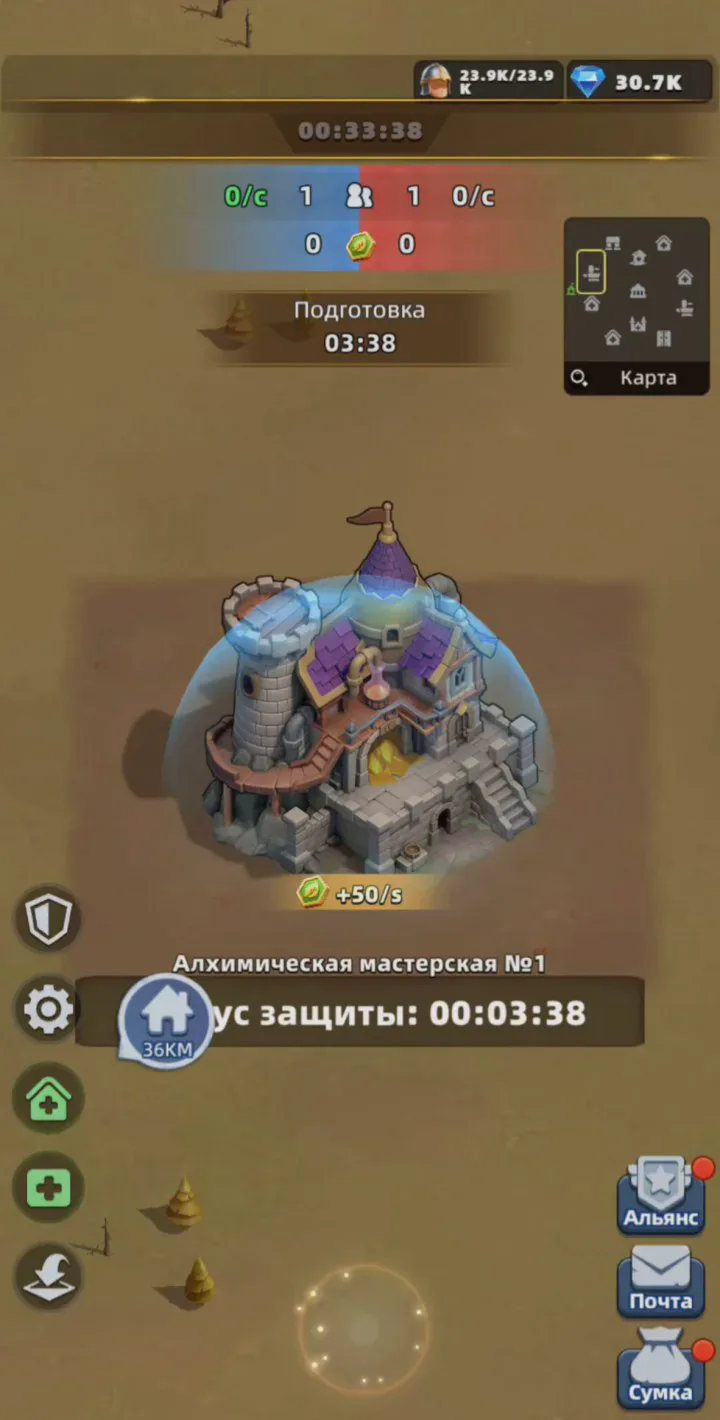
| Alchemy Workshop ×2 (left and right) | from the start | 50 / 30 | - |
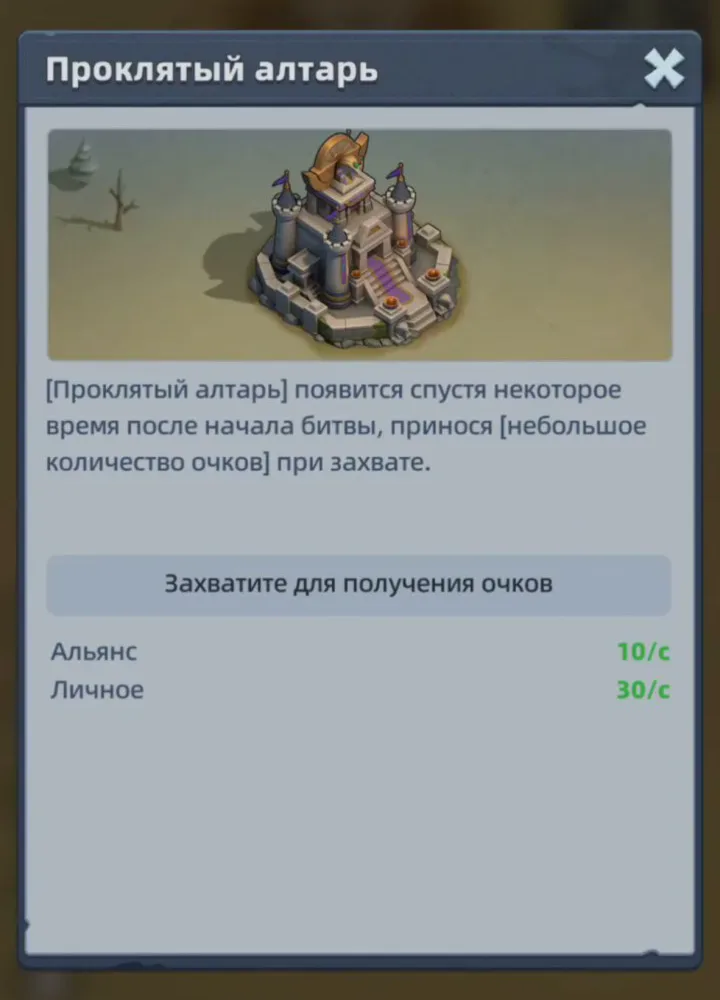
| Cursed Altar (below the center) | from minute 10 | 10 / 30 | enemy heroes' ATK, DEF and HP -15% |
| War Relics (above the center) | from minute 10 | 10 / 30 | your heroes' ATK, DEF and HP +15% |
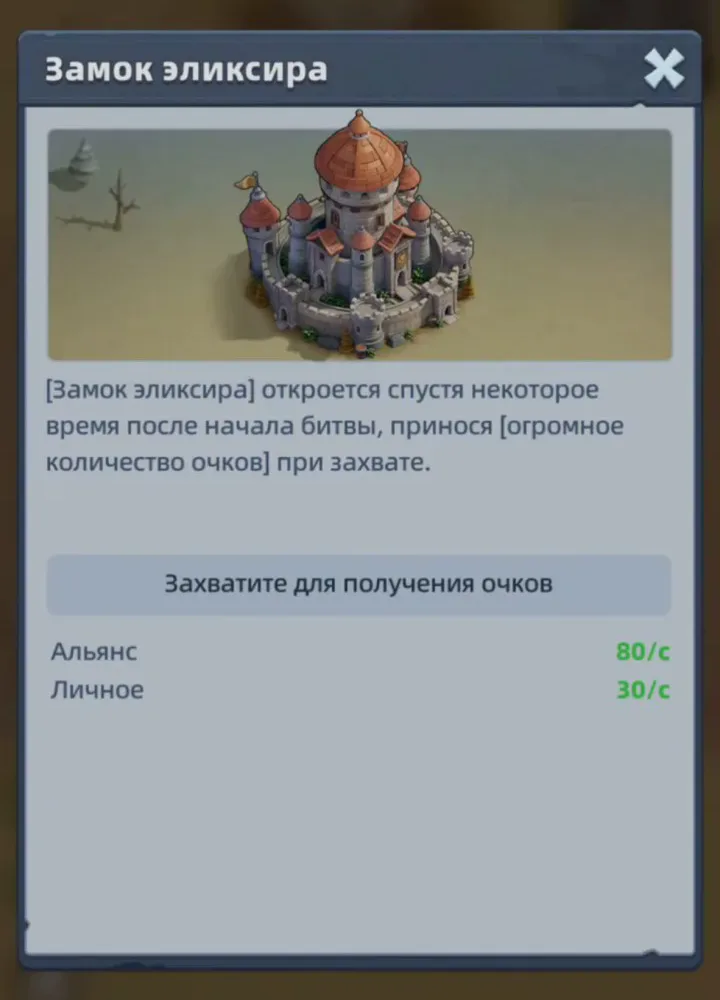
| Elixir Castle (center) | from minute 10 | 80 / 30 | - |
| Camps | from minute 13 | 5 / 5 | - |
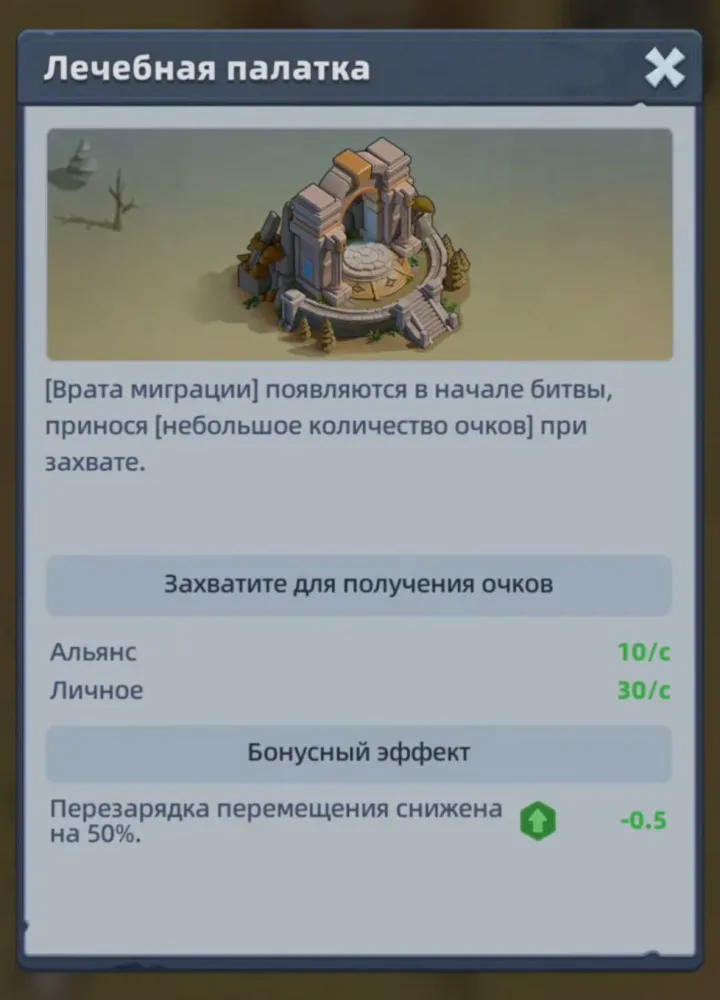
- Camps appear at minute 13. They give few points, but weak players who cannot help in the fight send troops there straight from the base so they do not get burned. The main thing is to make sure they are not cut down at the camps.
- Medkits. When a player is knocked out of a building, medkits scatter around, and either side can pick them up. The longer the player sat in the building without a break, the more points a medkit gives. Do not forget to collect them.
- Personal points also come from destroyed enemy soldiers and your own lost ones: the higher the soldier level, the more points.
The battle lasts 30 minutes, and the side with more points wins.
Alliance tactics
The key building, in the author's opinion, is the Migration Portal: relocation twice as fast gives huge mobility. One of the top players always stands and defends the Portal, and the rest help him when needed.
The tactic is not to stand and farm points from buildings but to stop the opponent from doing it. Relocating twice as fast, the alliance burns opponents faster and makes them spend more time at their base than on the battlefield. The starting stretch in points is usually lost because of the constant relocations. But when almost all buildings regularly pass under the alliance's control, weaker players join in and calmly earn points while the strong ones burn out the opponents coming back. That is how the team gets to the win.
A win in Elixir Scramble also brings the kingdom points in Kingdom War.